Part 1 - Get a Windows Image file

Download Windows
First, we need to get Windows, navigate to Microsoft's website, and download the "Create Windows installation media" tool. With the media tool, you can create a bootable Windows USB or download a Windows iso file.
Links:
🔗 Windows 10 Download
🔗 Windows 11 Download

Once you download the Windows installation media tool we need to follow the wizard to download the ISO file.
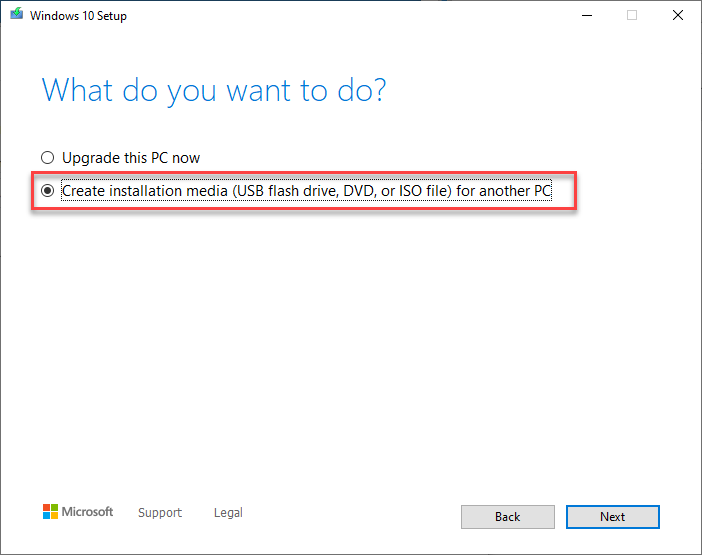
After accepting the TOS, select the option "Create installation media (USB flash drive, DVD, or ISO file) for another PC"
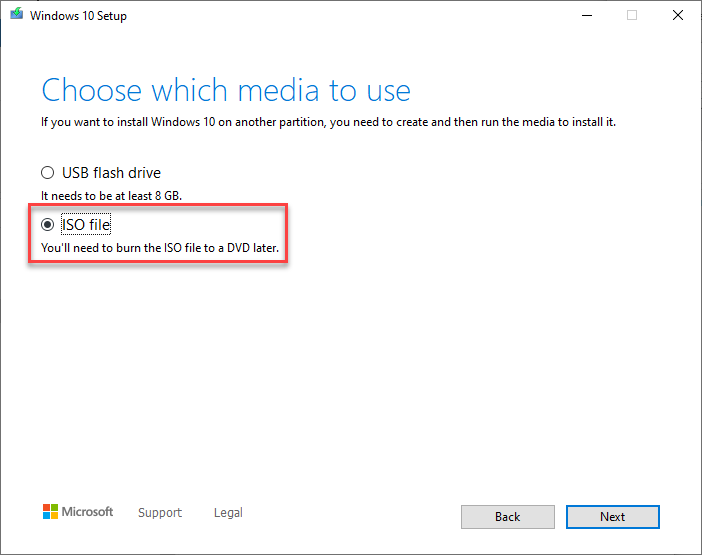
After a few more windows you will get to select which media to use, select "ISO file".
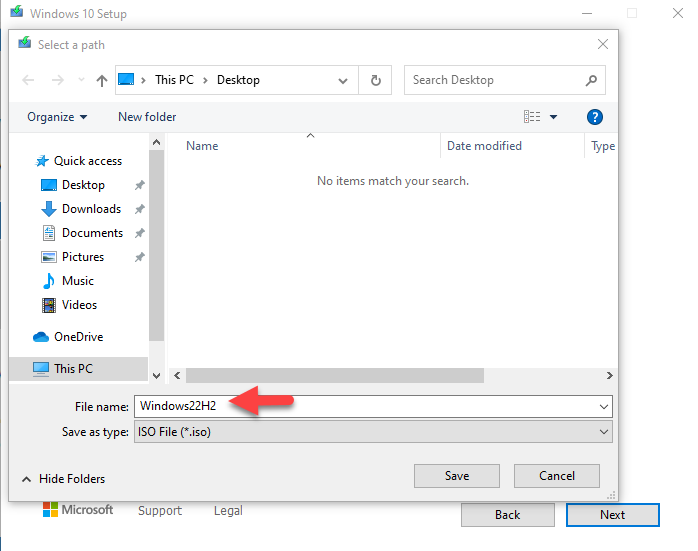
Save the ISO file to an easy-to-find location. I like to also rename the ISO with what Windows version the ISO is, for example, "Windows22H2.iso"
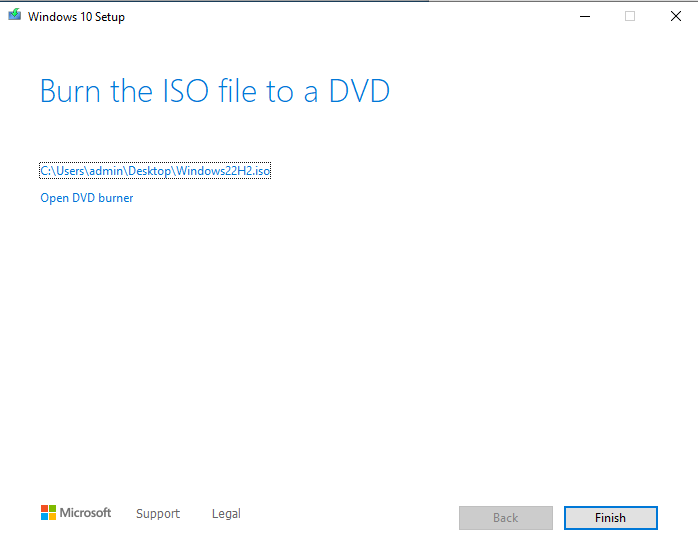
Once the download has finished you should now have a bare Windows installer ISO.
Copy the ISO files locally
Mount and Open the Windows ISO
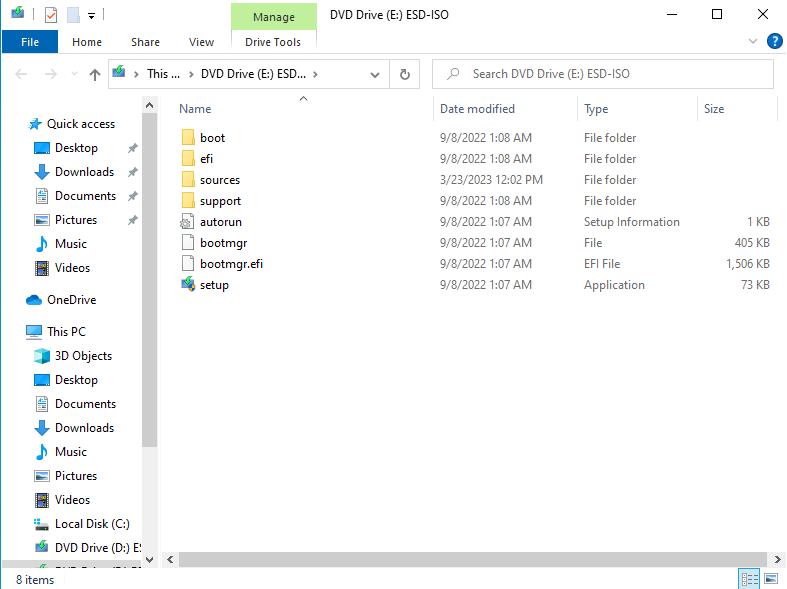
Copy the file called install.esd found in E:\sources\install.esd somewhere on your system. I saved the file on my Desktop in a folder called Windows10-22H2.
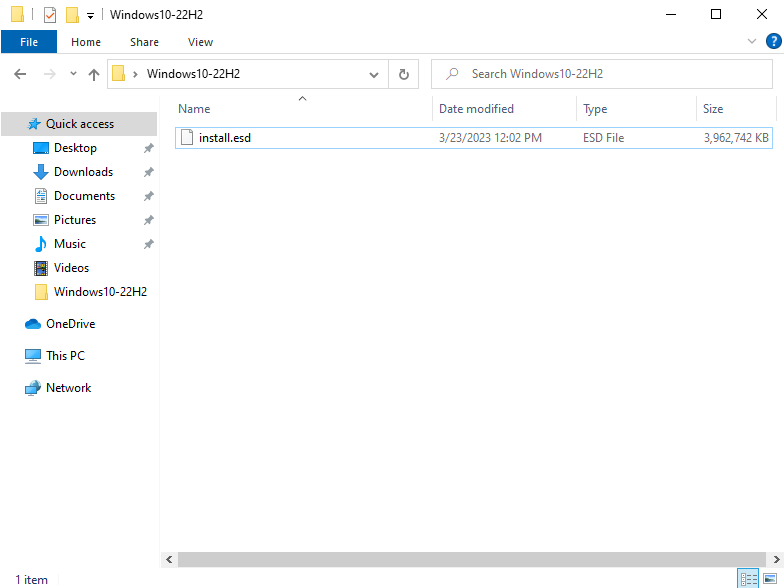
Export install.wim from install.esd
Open PowerShell and change the directory to where you saved your install.esd file.
cd c:\users\admin\Desktop\Windows10-22H2
Run the below command to get a list of all versions of Windows on the install.esd
DISM /Get-WimInfo /WimFile:install.esd
The DISM /Get-WimInfo /WimFile:install.esd will show the available Windows version on the install.esd file. Most enterprises will use Windows 10 Pro version.
Note: If your organization uses Intune and the user signing in has E5 licensing with Windows 10 Enterprise. After some time the OS will automatically upgrade from Windows 10 Pro to Windows 10 Enterprise. A reboot will be required after the upgrade process.
🔗Windows Subscription Activation

I want to create a Windows 10 Pro image, so it's Index number 6, run the below command to export the install.esd to install.wim
DISM /Export-Image /SourceImageFile:install.esd /SourceIndex:6 /DestinationImageFile:install.wim /Compress:max /CheckIntegrity

The export process may take some time, but once done you should have two files install.esd and install.wim in the directory where your install.esd the file is located.